Lay Laminate flooring is perfect for everyone who would like to have a high quality, beautiful, and cheap floor covering. But whether you’re dealing with basic Clic laminate or more exotic such as herringbone laminate flooring, even novices can handles this with the help of SWISS KRONO.
1. Preparation: Before You Start
Before jumping into the installation, it’s important to plan:
Take dimensions of the room.
Look at any variations from the standard (Heaters, Door frames etc.).
Make certain you have the right equipment (saw, hammer, measuring tape, and spacers).
Pro Tip: The laminate boards should be left inside the room where they are to be installed for at least 48 hours to arrive at the room temperature and the right humidity level.
2. Choose Your Underlay Material
Substrate is one of the main components that should be used in the laminated floor construction process. Sound attenuation, thermal insulation, and possibly serve as a vapor barrier.
Vapor Barrier: One should lay this layer if there exists a mineral substrate, because it insulates the laminate against moisture.
Impact Sound Insulation: Finally, this particular underlay decreases the level of noise and boosts comfort.
3. The CLIC System: DIY Made Easy
The SWISS KRONO Clic System means clamping systems for the do it yourself and the specialist. Simply depress the button and click and the panels snap into place and only require a screw in L-bracket for added security.
How it Works:
The first layer is arranged with a gap of 10mm to the wall so that as the rods expand outward they do not touch the wall.
Leverage the board to snap its panels with the adjacent one in a way that you are pushing down on it.
Also the joints should be evenly spaced.
Tip: As a result, it is necessary to use spacers to preserve the distance of 10mm from walls.
4. Special Room Situations: Communicating with Door and Frames and Heat Conducting Pipes
If your room has features like door frames or heating pipes, some adjustments may be necessary:
If addressing the door frames, it is possible either to saw the frame to approximate the size of the laminate or, on the contrary, adjust the laminate to the frame.
Area that has hot pipes passed through, the lay Laminate Flooring India was cut to fit well around them.
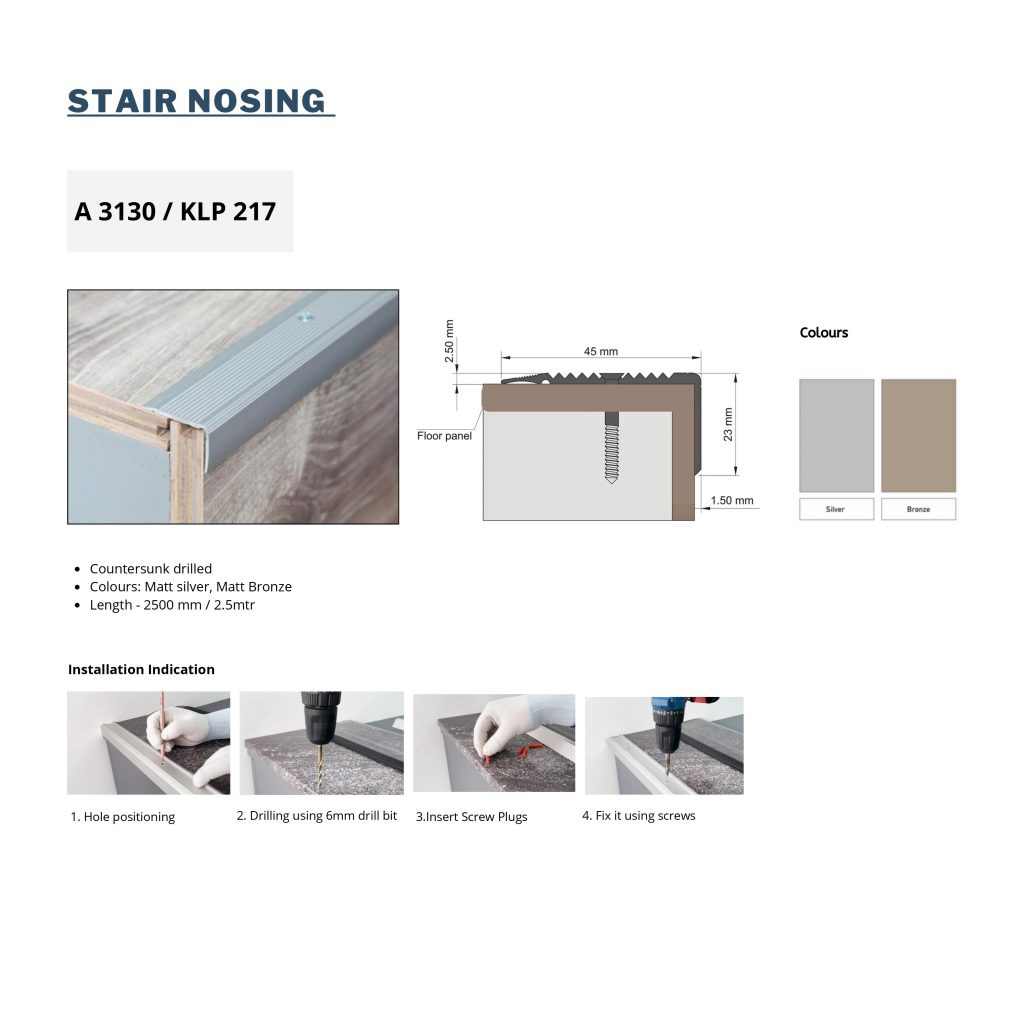
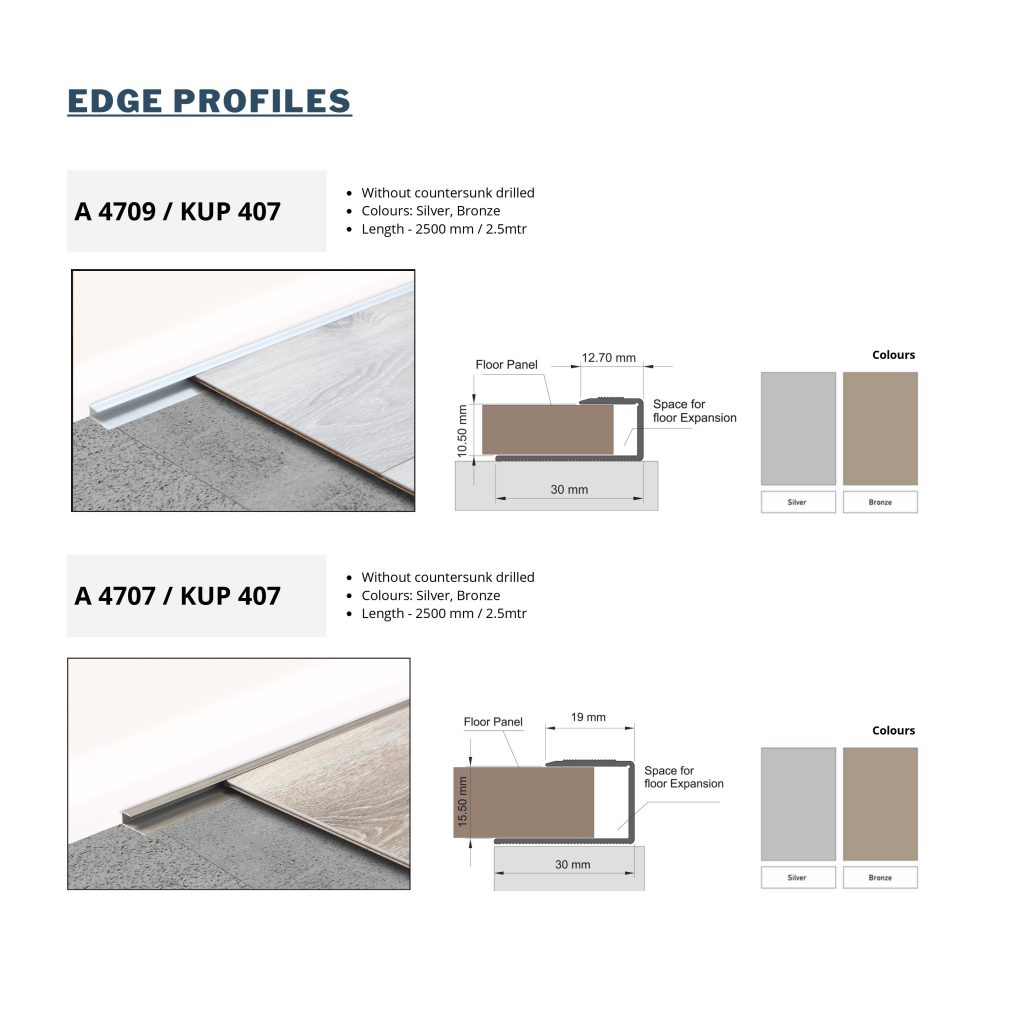
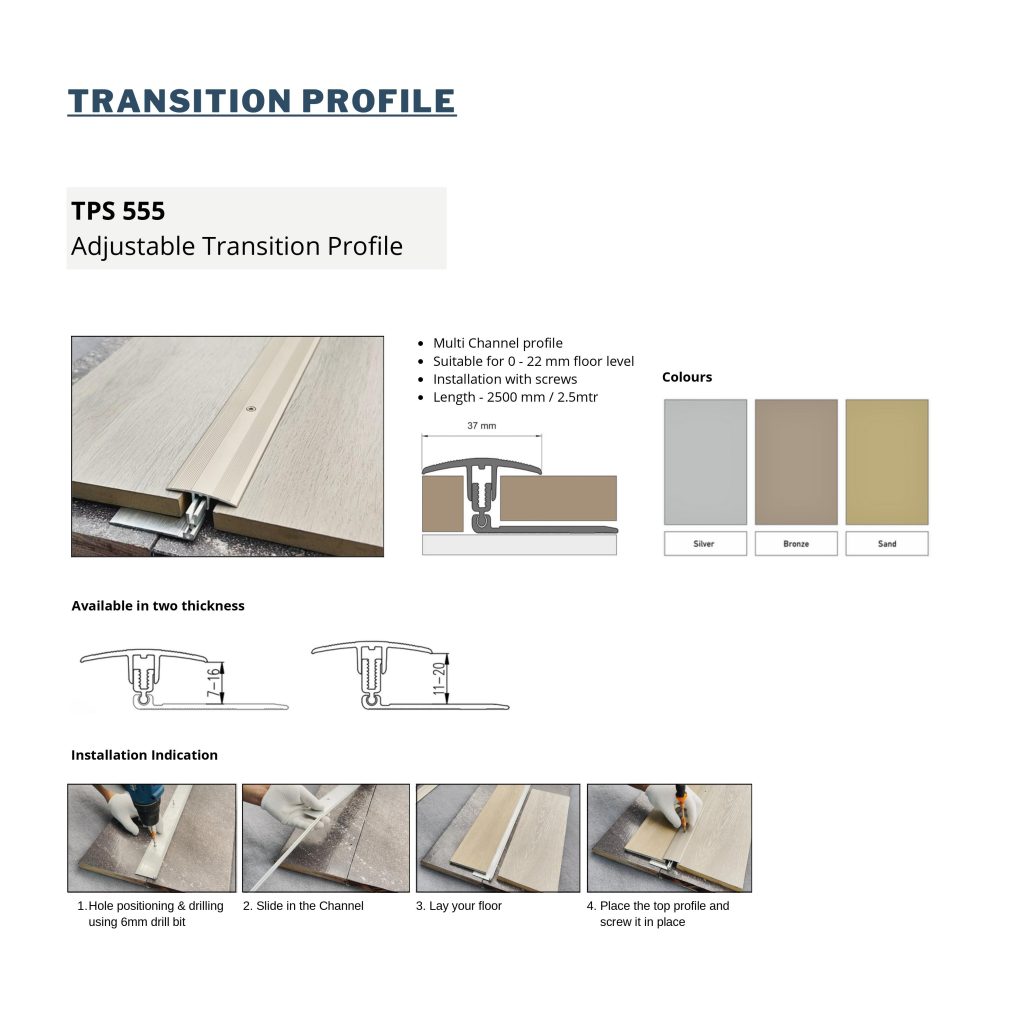
5. Accessories: Finishing Touches
Once the laminate is laid, it’s time to complete the room with accessories:
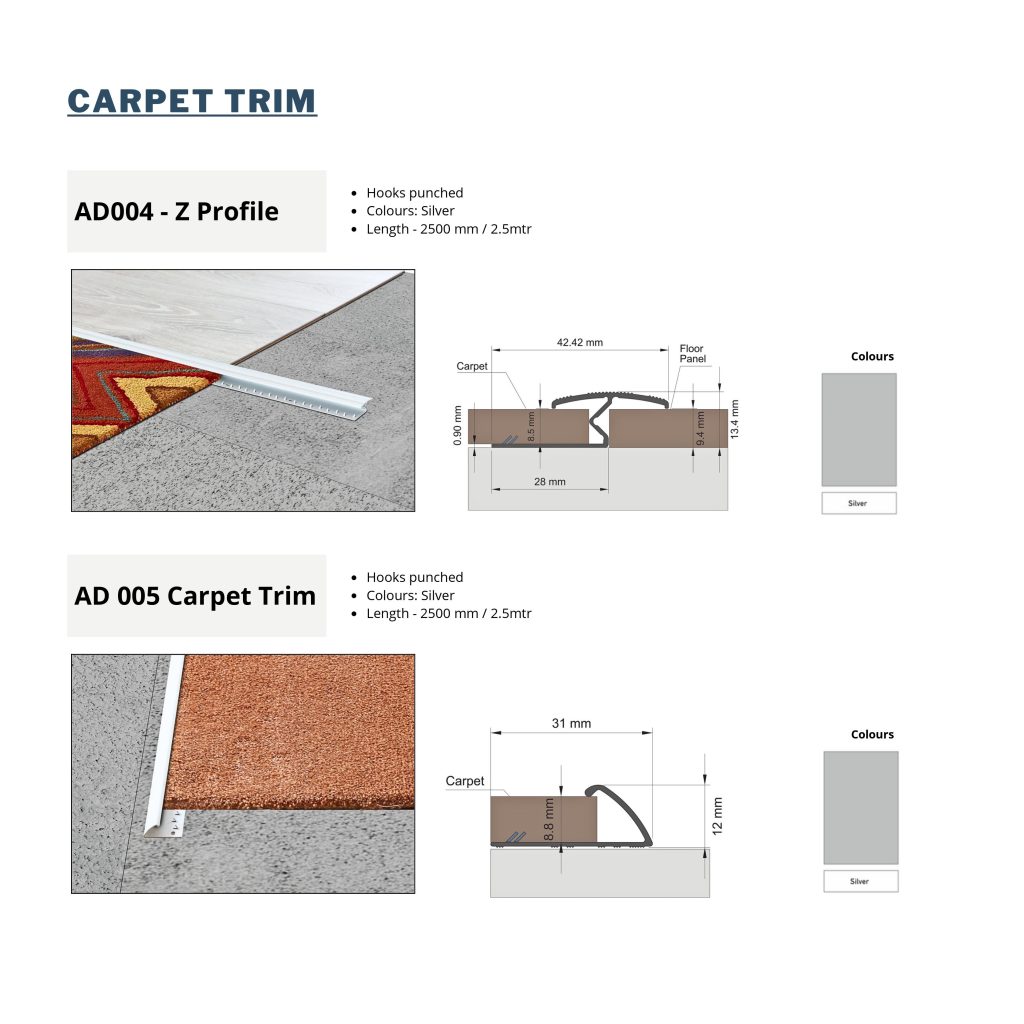
Fix skirting board all around the room to hide the expansion gap which will be left.
Apply transition strips between rooms to come up with a perfect neat flow.
6. How to maintain your laminate floors
Proper care can extend the lifespan of your laminate:
Always, wipe your floors with a damp cloth and sweep or mop, at least once a day.
Do not manoeuvre large items of furniture over the floor – use felt tips on the furniture’s legs.
7. Repairing Minor Damage
If anything gets ruin, there is no need to panic! Scratches or damaged planks can easily be replaced:
Just raise the board and click in the new one in the same manner with the aid of CLIC system.
Installation for Herringbone Pattern Laminate
For herringbone for instance, use the procedures outlined in the above image. Herringbone laminate needs to be more careful on the cuts as well as on the spaces of the next layer. This installation is like the CLIC system but also demands special attention to the need to maintain the A/B pattern.
Conclusion
lay Laminate flooring allows for the appearance of natural wood with far less expenses and with less need for constant care. As you will soon see, this So ried Swiss Krono Clic Flooring is incredibly easy to install regardless of your level of expertise.

