Our user-friendly tongue-and-groove “Clic” system empowers even DIY enthusiasts to lay our laminate flooring effortlessly. These are foundational tips; for detailed guidance, explore our comprehensive PDF guides and instructional videos.
1. Vapour Barrier Installation: Begin by installing a vapour barrier parallel to the laminate joints, ensuring an overhang of about 3 cm on the walls.
2. Impact Overlay: Lay insulation sheets at a 90-degree angle to the laminate, securing transitions with adhesive tape.
3. Clic Laminate First Row: Start with the right corner, laying panels parallel to light incidence, with a 10 mm gap to the wall.
4. Sawing or Cutting Panels: Saw or cut panels with the decor side down, marking on the reverse side.
5. Continuing Rows: Start the next row with the cut-off piece, maintaining a 40 cm offset for stable connections.
6. Last Row Adjustments: Adjust the last row in terms of length, considering wall distance. Glue panels if adjustments are needed.
7. Skirting Board Attachment: Before attaching skirting boards, cut the vapour barrier and use a miter saw for precise cuts.
8. Transition profiles elegantly conceal the shift between diverse floor coverings in adjoining rooms, while expansive laminate surfaces, especially in sizeable rooms, necessitate concealed transition profiles for seamless aesthetics, with options for gluing, screwing, or snapping based on the model.
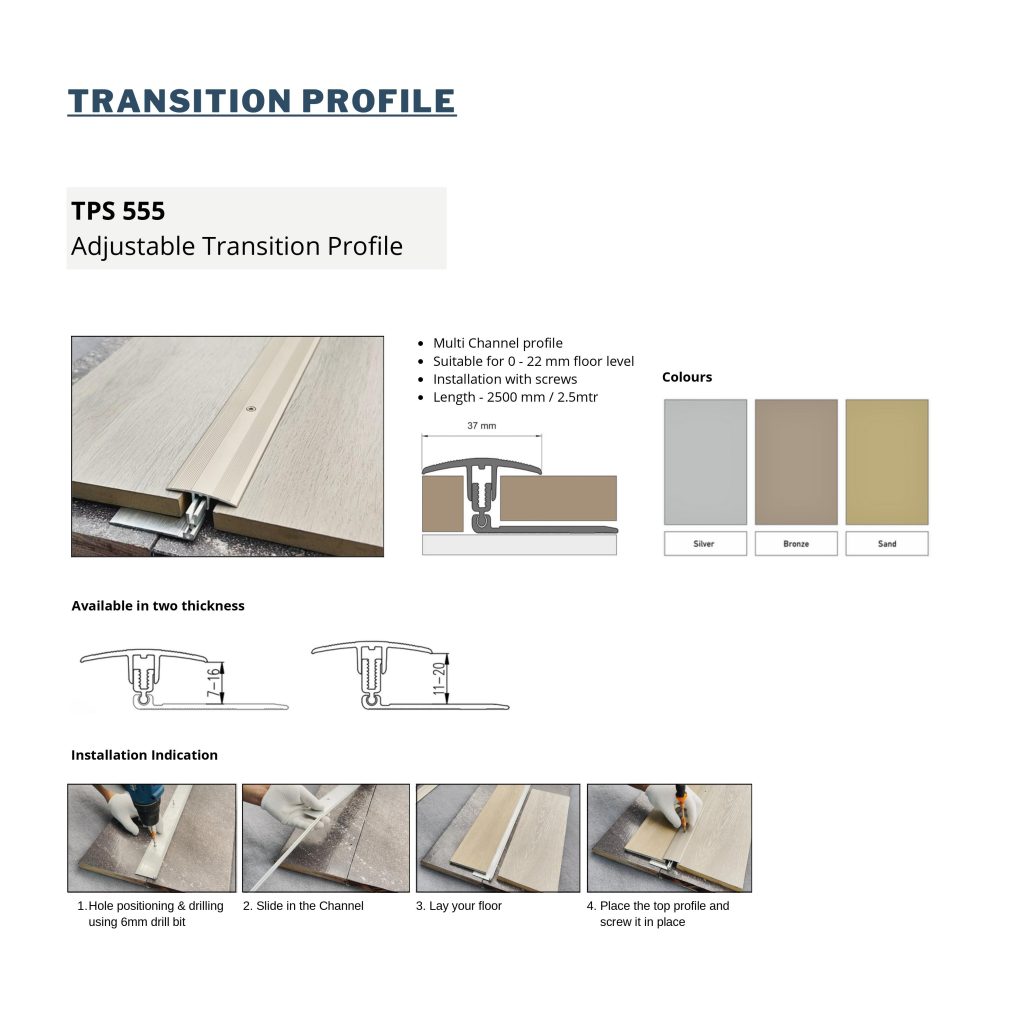
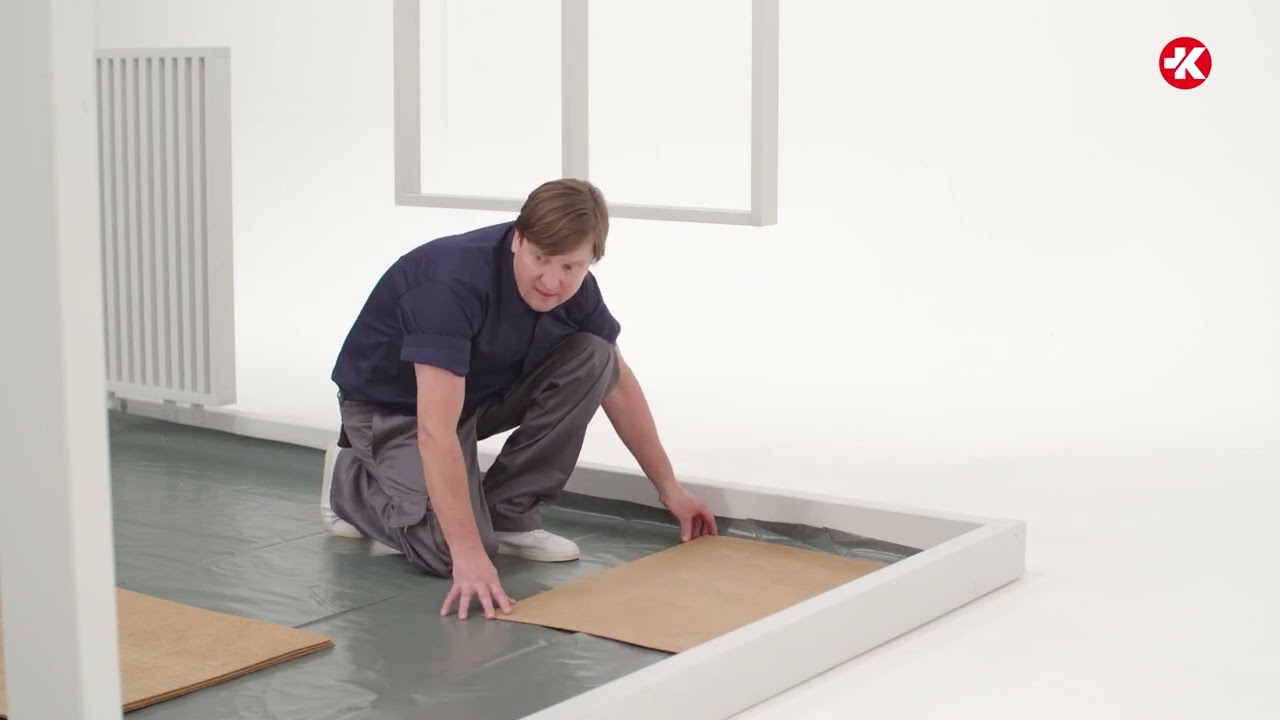
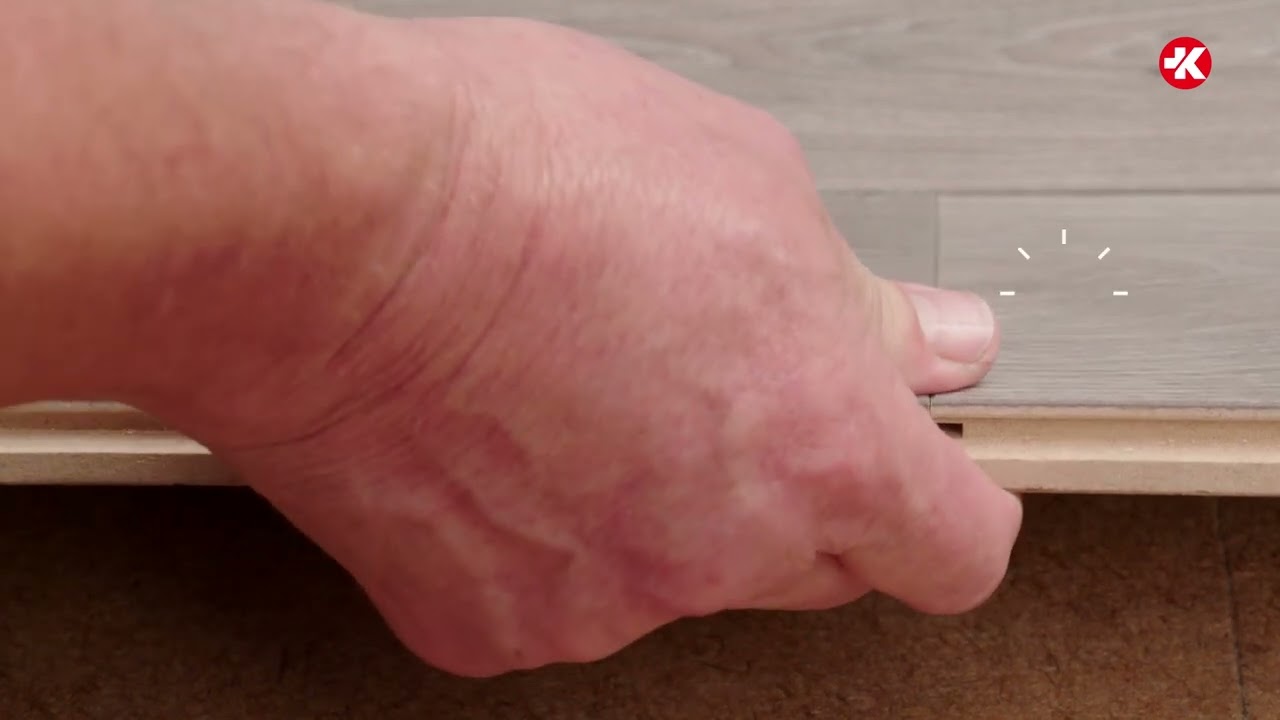
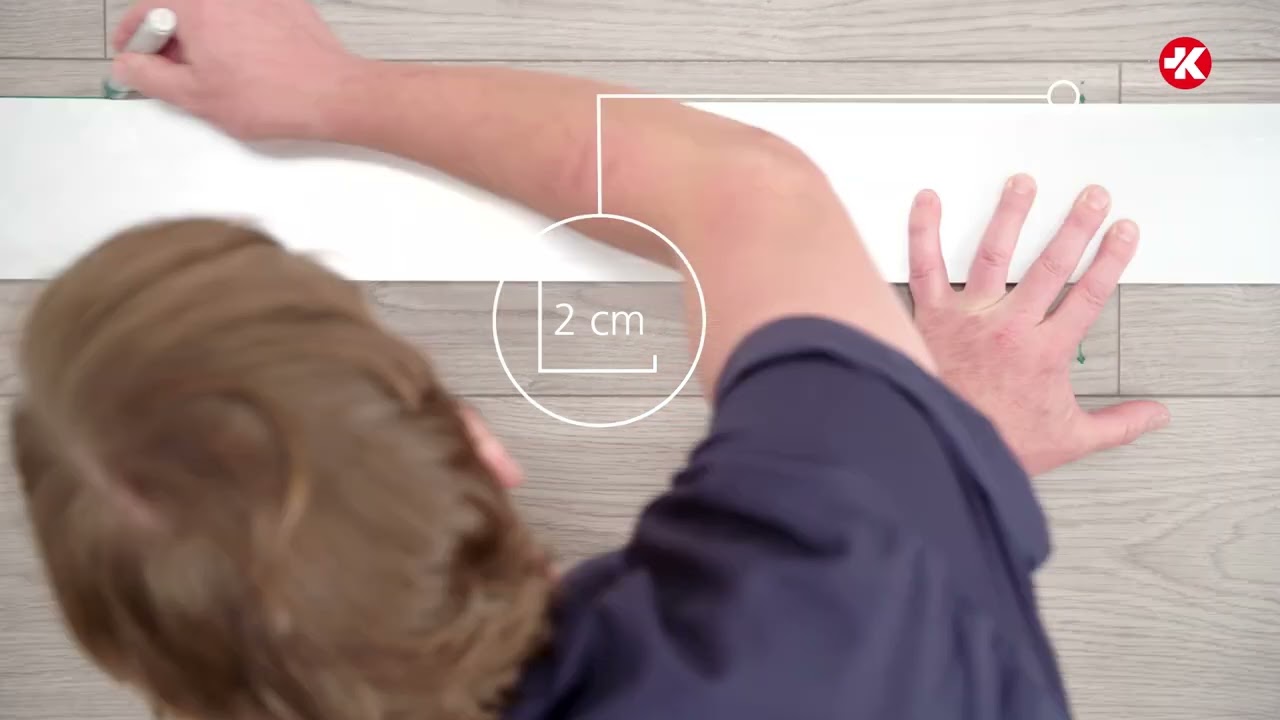
Installation Step by Step
1:35
1:06
1:40
0:48
0:58
1:22
5:23
1:49
2:45
1:22